Creating a Hello World Service in Go
- Introduction
- Goals
- Prerequisites
- Generating Server Stubs
- Configuring the Project
- Building the Project
Introduction
In this guide, we describe how to build a simple Go service that exposes an API defined as an OpenAPI Specification (help me). We cover server stub generation and project configuration, leaving security and database specifics to later guides.
To just dive straight in, you can download the Hello World Service source (help me), but we encourage you work through the guides to learn by doing.
Goals
- generate server stubs from an OpenAPI Specification
- configure third party project dependencies
Prerequisites
- Go Hello World Service 1 (help me)
- JetBrains GoLand
- OpenAPI Generator 5.0.1
- OpenJDK 11
Generating Server Stubs
Even if you want to work through this example from scratch, you still need the OpenAPI Specification file HelloWorldService-1.json (help me). Create a new project folder and copy the file you just downloaded to it, them check that you have the latest version of OpenAPI Generator installed (help me).
$ openapi-generator version
5.0.1
We are now ready to generate the Go server stubs fromHelloWorldService-1.json with the following command:
$ openapi-generator generate \
  --generator-name="go-server" \
  --input-spec "HelloWorldService-1.json"
.
.
.
################################################################################
# Thanks for using OpenAPI Generator.                                          #
# Please consider donation to help us maintain this project 🙏                 #
# https://opencollective.com/openapi_generator/donate                          #
################################################################################
The resulting project folder should look like this:
.
├── Dockerfile
├── HelloWorldService-1.json
├── README.md
├── api
│   └── openapi.yaml
├── go
│   ├── api.go
│   ├── api_items.go
│   ├── api_items_service.go
│   ├── api_languages.go
│   ├── api_languages_service.go
│   ├── helpers.go
│   ├── impl.go
│   ├── logger.go
│   ├── model_error.go
│   ├── model_item.go
│   ├── model_language.go
│   └── routers.go
├── go.mod
├── main.go
└── openapitools.json
Configuring the Project
OpenAPI Generator has generated everything we need to import the project into JetBrains GoLand and build it. Select the project folder and open it in GoLand. If everything goes well, you should see a project structure similar to the following image.

go.mod
Update the module path in go.mod and create an alias for it as shown.
module github.com/CiscoDevNet/msx-examples/go-hello-world-service-1

go 1.13

require github.com/gorilla/mux v1.7.3

replace github.com/CiscoDevNet/msx-examples/go-hello-world-service-1/go => ./go/
main.go
Update main.go to reflect the module path change.
.
.
.
import (
	"log"
	"net/http"

	openapi "github.com/CiscoDevNet/msx-examples/go-hello-world-service-1/go"
)
.
.
.
go/routers.go
OpenAPI Generator v5.0.1 does not declare all the required dependencies in go/routers.go. Update the import() section of that file to include the dependency mime/multipart as shown.
.
.
.
import (
	"encoding/json"
	"io/ioutil"
	"net/http"
	"os"
	"strconv"
	"github.com/gorilla/mux"
	"mime/multipart"
)
.
.
.
go mod tidy
Go can help detect missing dependencies in go.mod for you. Running go mod tidy in the root folder of the project from a terminal window can help.
$ go mod tidy
Configuring GoLand
Check GOROOT is set from GoLand->Preferences->Go->GOROOT.
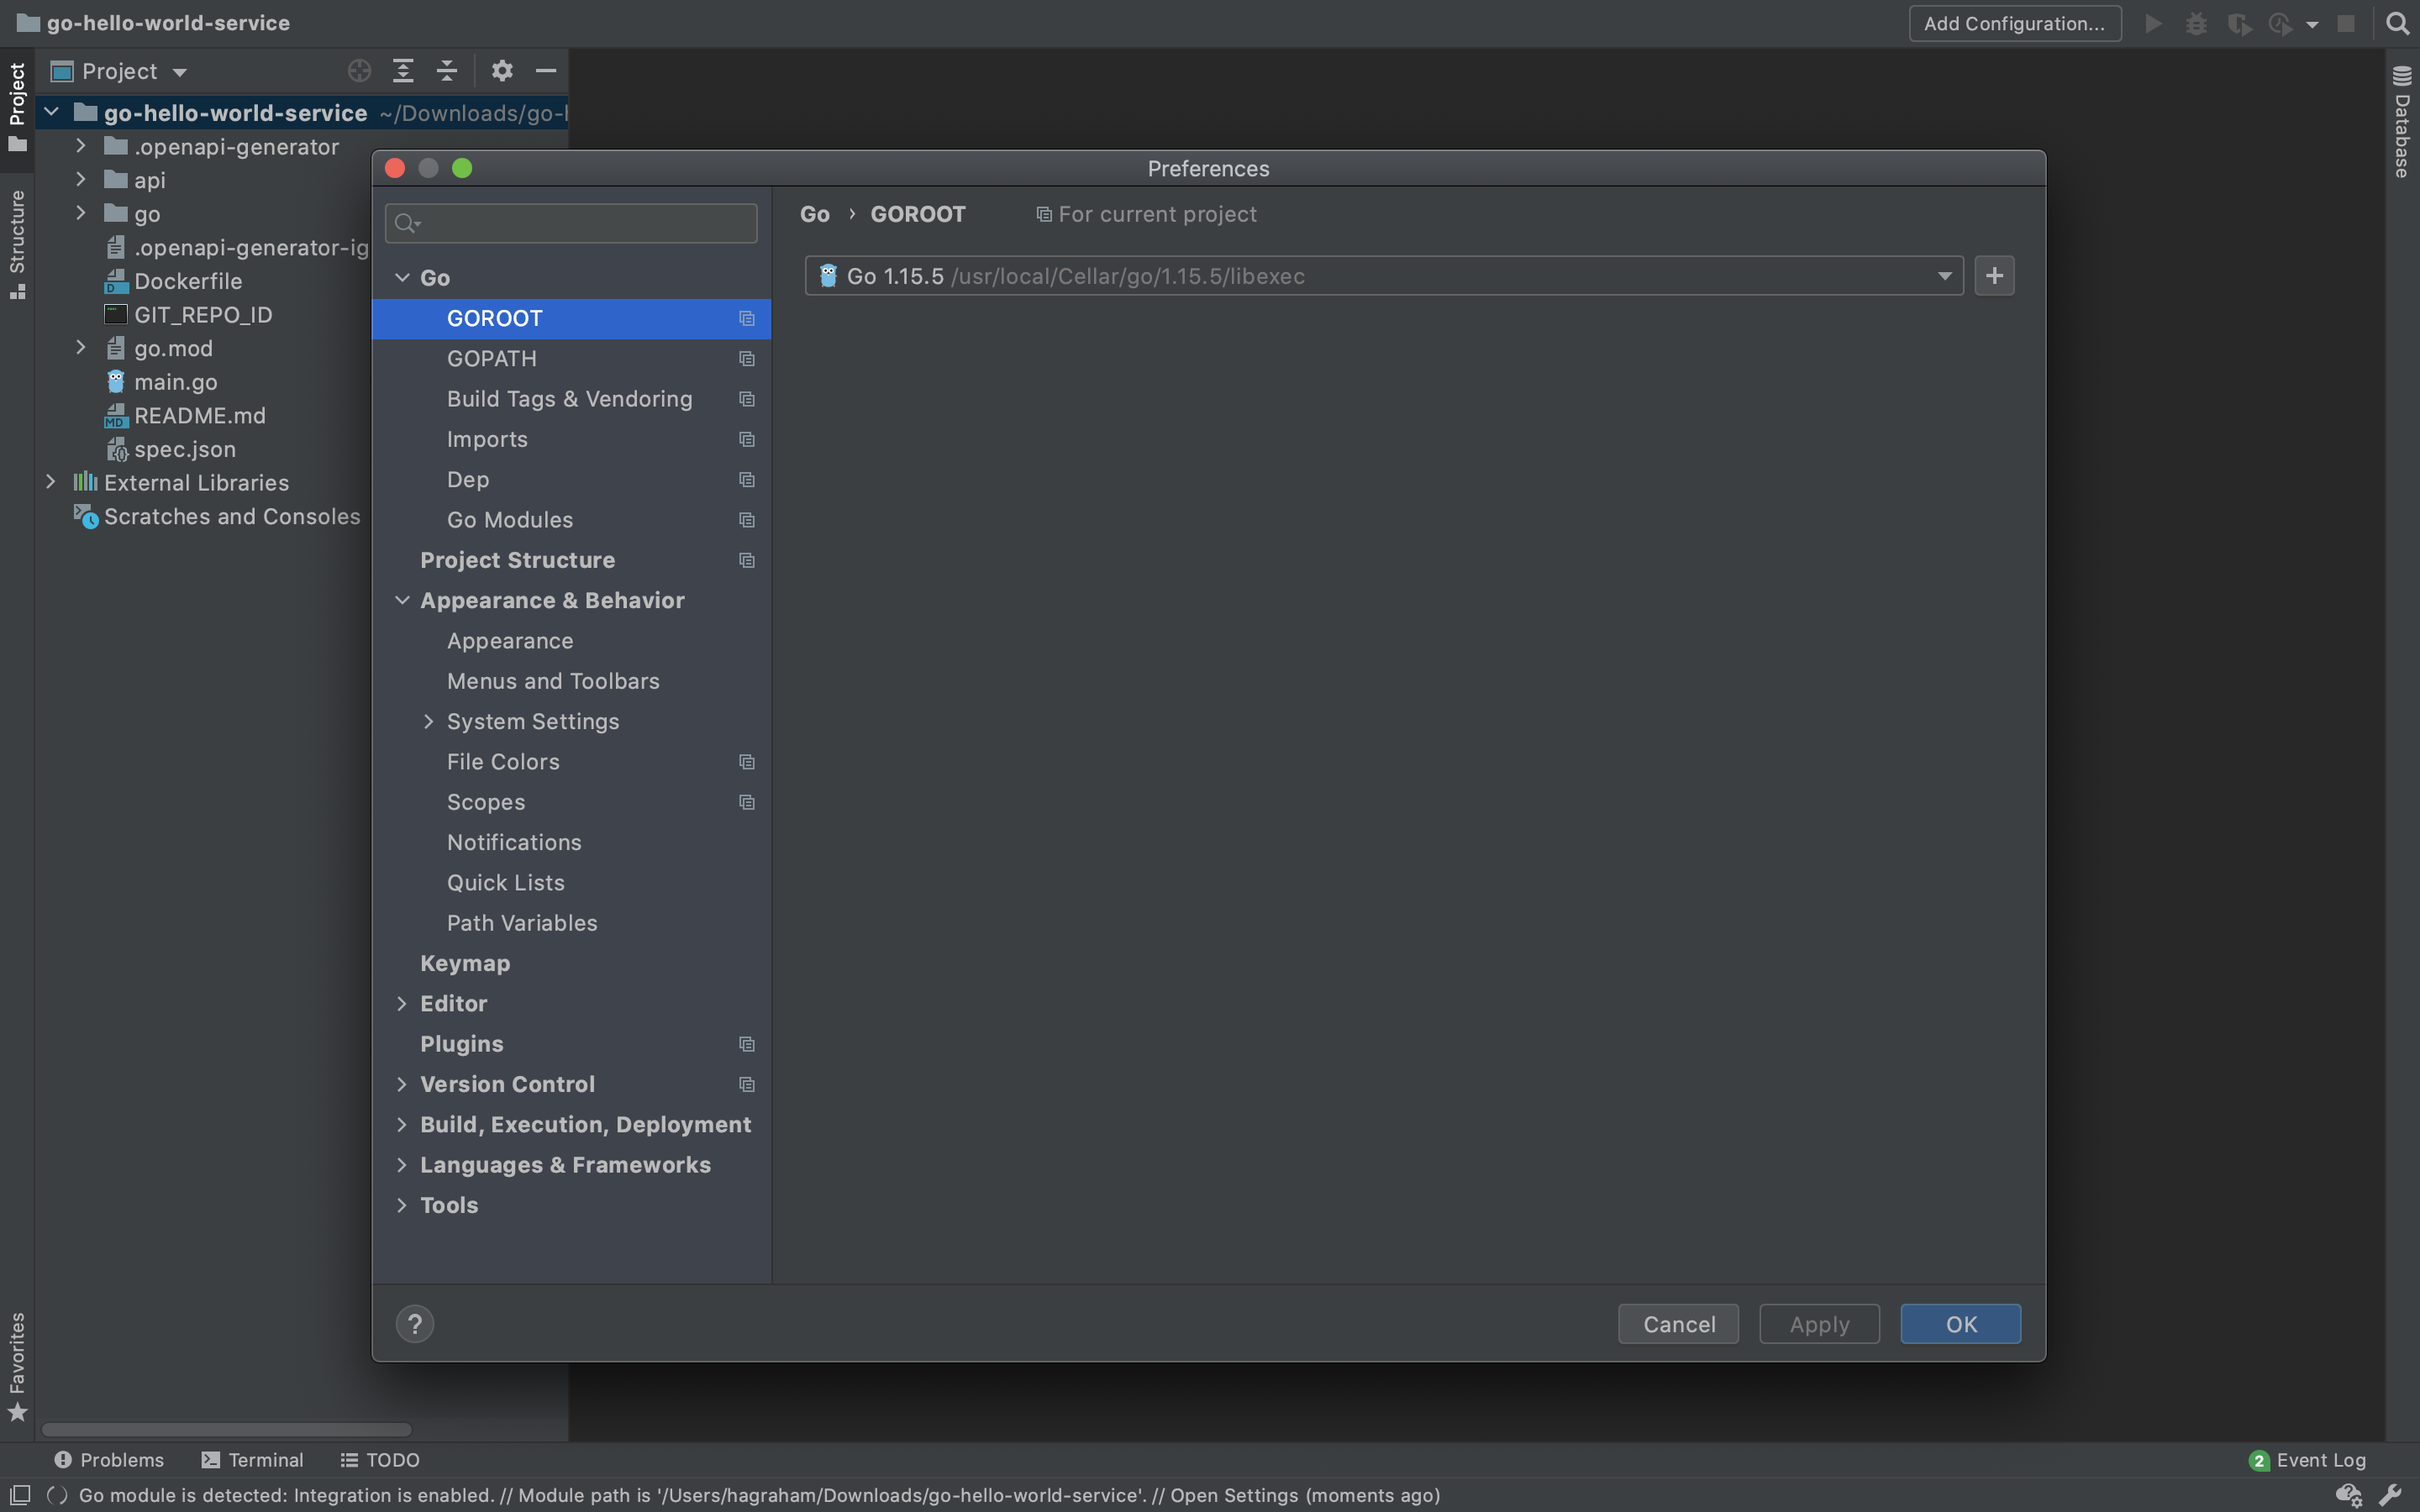
Check GOPATH is set from GoLand->Preferences->Go->GOPATH.
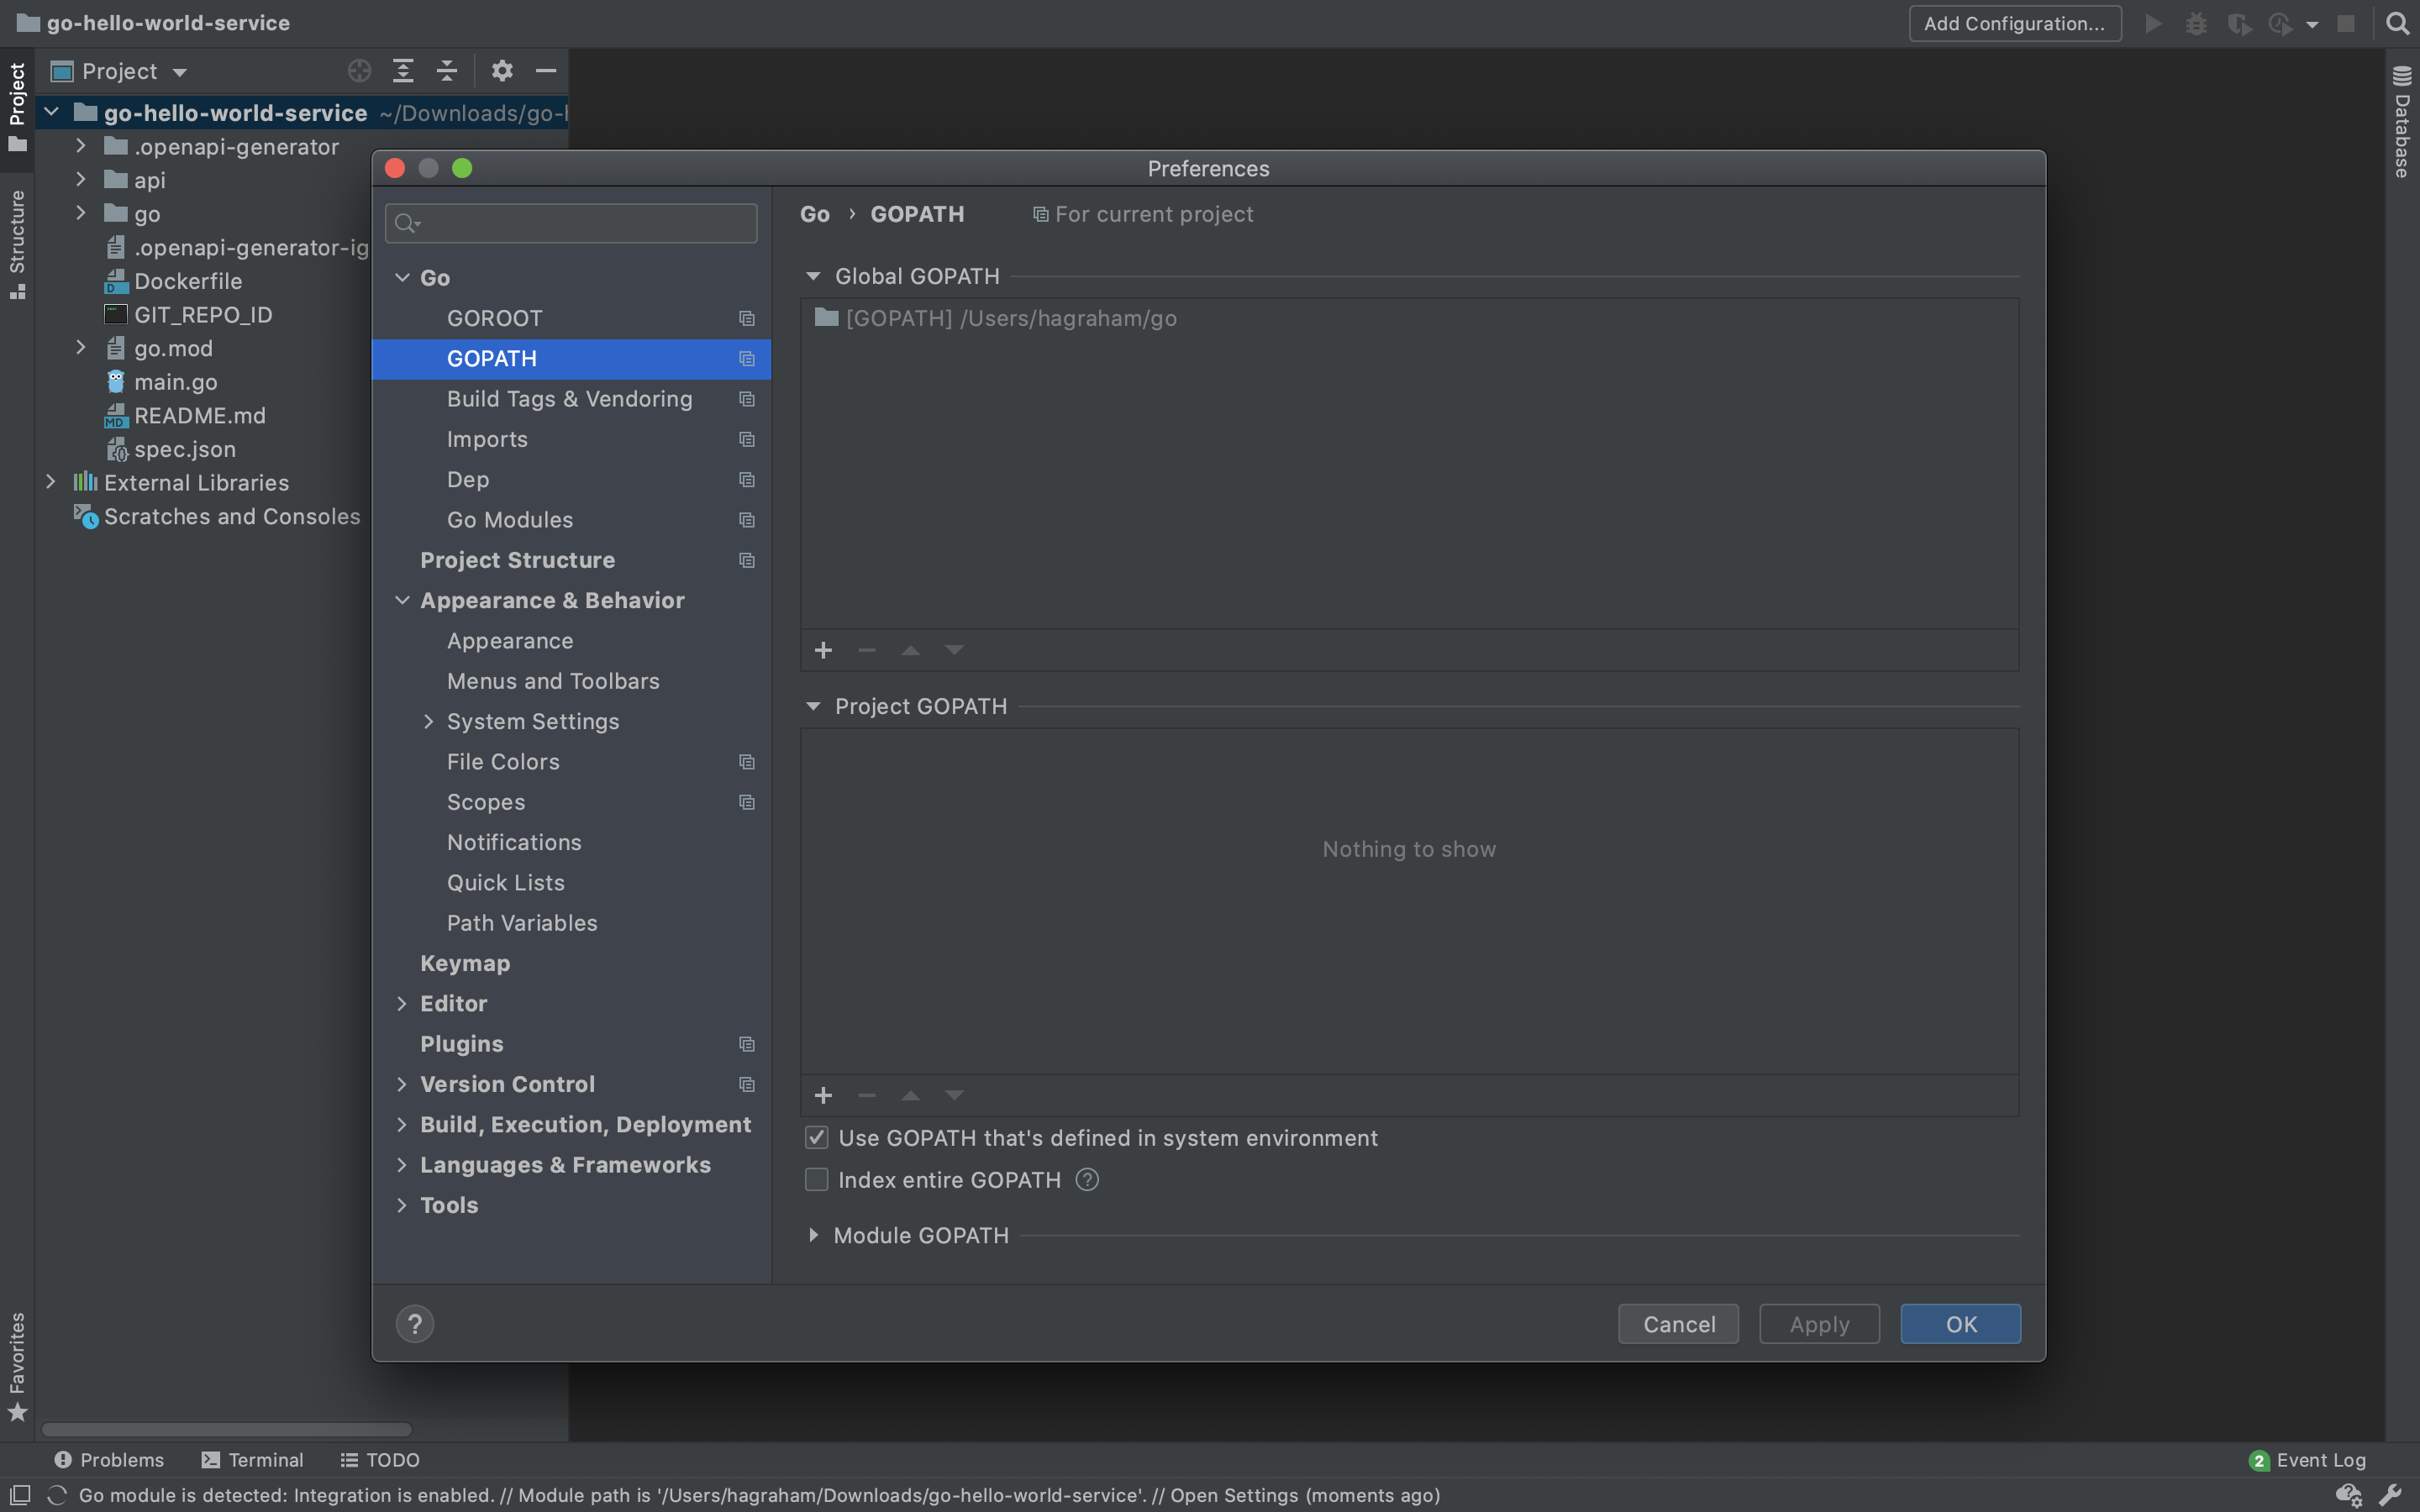
Enable Go Modules integration from GoLand->Preferences->Go->Go Modules.

Building the Project
As long as your Go development environment is set up properly, you can get the build the service and run it locally.
$ go get -u
go: github.com/gorilla/mux upgrade => v1.8.0

$ go build
$ go run main.go
2021/03/14 11:34:04 Server started
| NEXT | HOME |