Introduction to MSX Tenant-Centric UI
Introduction
Angular 9 is the default framework used by MSX UI. As a result, there are many features and components at your disposal to integrate with MSX. The full range of features available is listed in the MSX Common Components reference (help me). In the following sections we will cover a number of those features in detail.
Prerequisites
In order to create a service pack for MSX, the following must be present:
- MSX >= 4.0.0
- Docker
- Linux based OS
- node >= v8 and <= 14
- npm 6 * cannot be version 7
- webpack
Generating Your Sample Service Pack
- Clone the following project to your local environment:
$ git clone https://github.com/CiscoDevNet/angular9-msx-service-pack-ui-generator
- Change directories to the clone repository.
$ cd angular9-msx-service-pack-ui-generator
- Run the following command, using
helloworldas the servicepack name,
$ ./createTemplate.sh -project-name="helloworld" \
-image-file="./sample-image/sample.svg" \
-project-description="HelloWorld_Description" \
-output-dir="./helloworld"
Parameters Explained
| Parameter | Description |
|---|---|
| project-name | The name of your service pack. |
| project-description | A description of the service pack. |
| image-file | An icon to display in the service catalog. |
| output-dir | Output location of the generated service pack files. |
Now you can go to your directory, and see the service pack named helloworld. This is functional Angular 9 code that you can modify anyway you want.
Just to test out that our build process works, let us change the way our project name will be displayed in the catalog.
$ cd helloworld/helloworld/src/ui/i18n
There is a file there named i18n.json, this file has all the resource strings for the text that will be displayed in this service pack. The key we want to modify is helloworld.service.property.name.
Change “Angular 9 Application” to “Hello World Service” and build by running:
$ npm run build
Deployment
Once the package has built successfully, there will be a new directory called build that contains an archive filed called helloworld_slm_deployable.tar.gz. This is the file you want to upload using Component Manager in MSX (help me).
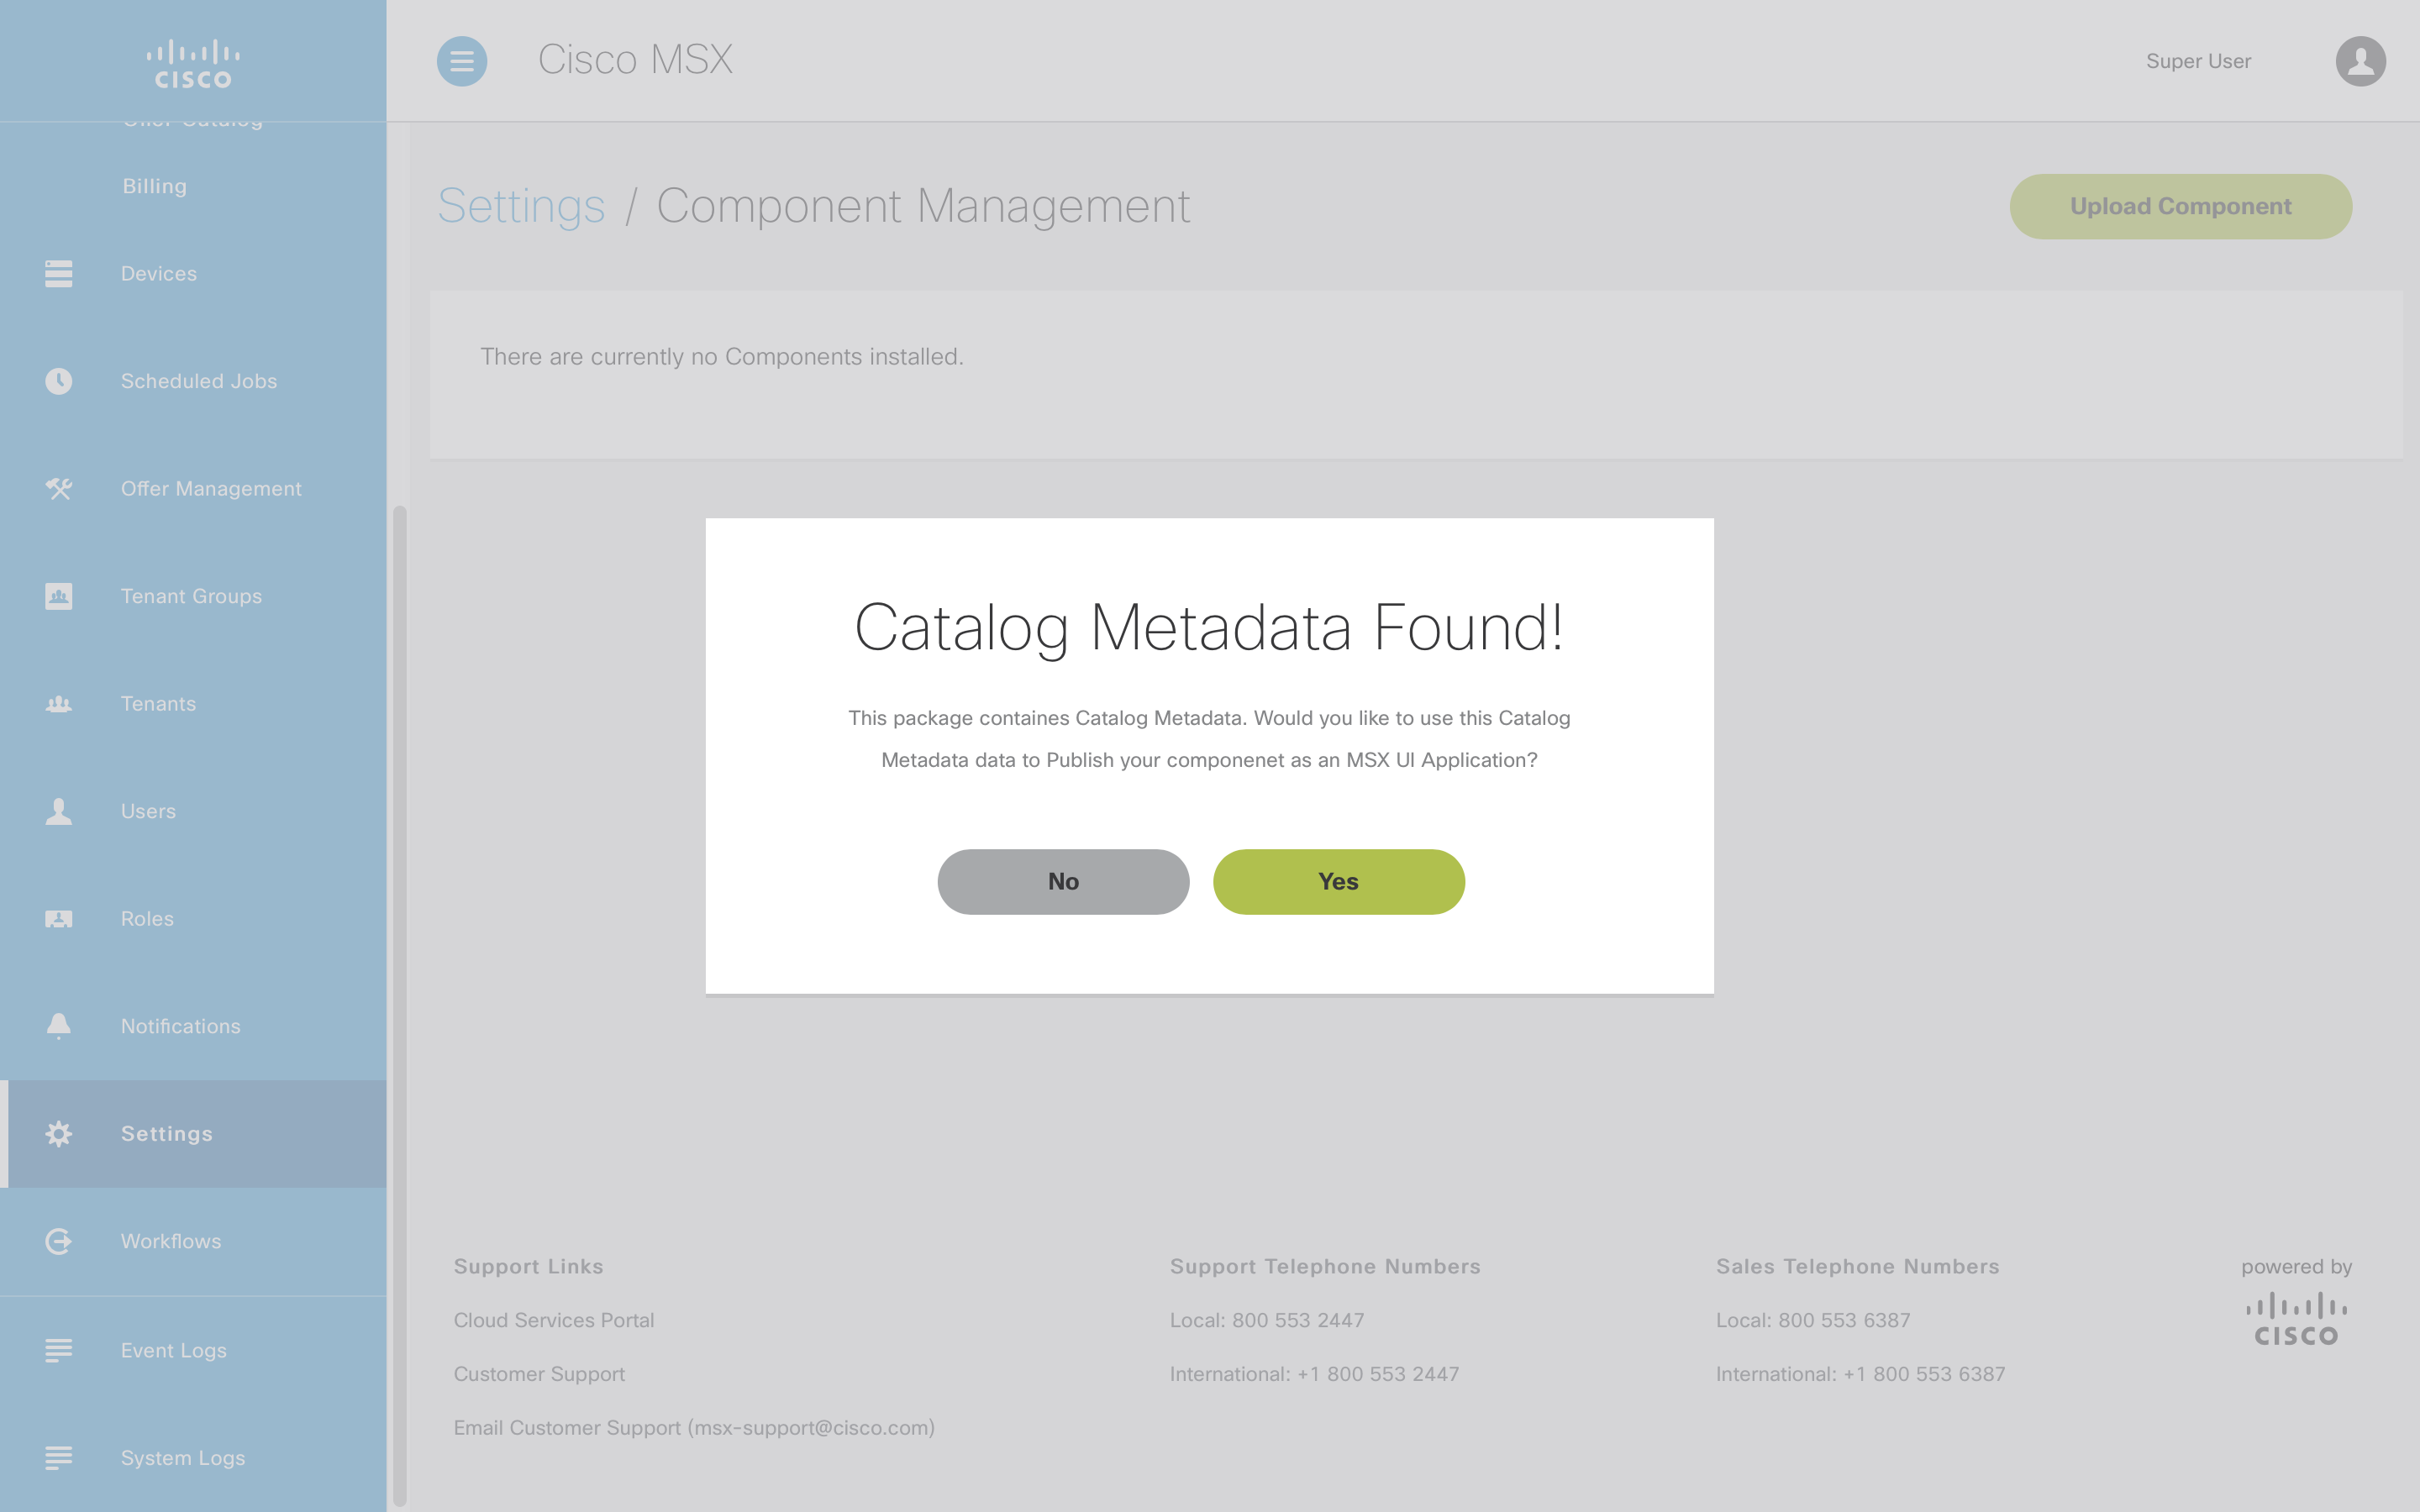
When the component has been uploaded you will be prompted with Catalog Metadata Found! to automatically publish the application and create an offer, click Yes to do this. You can perform these steps later through the Cisco MSX Portal if you prefer (help me).
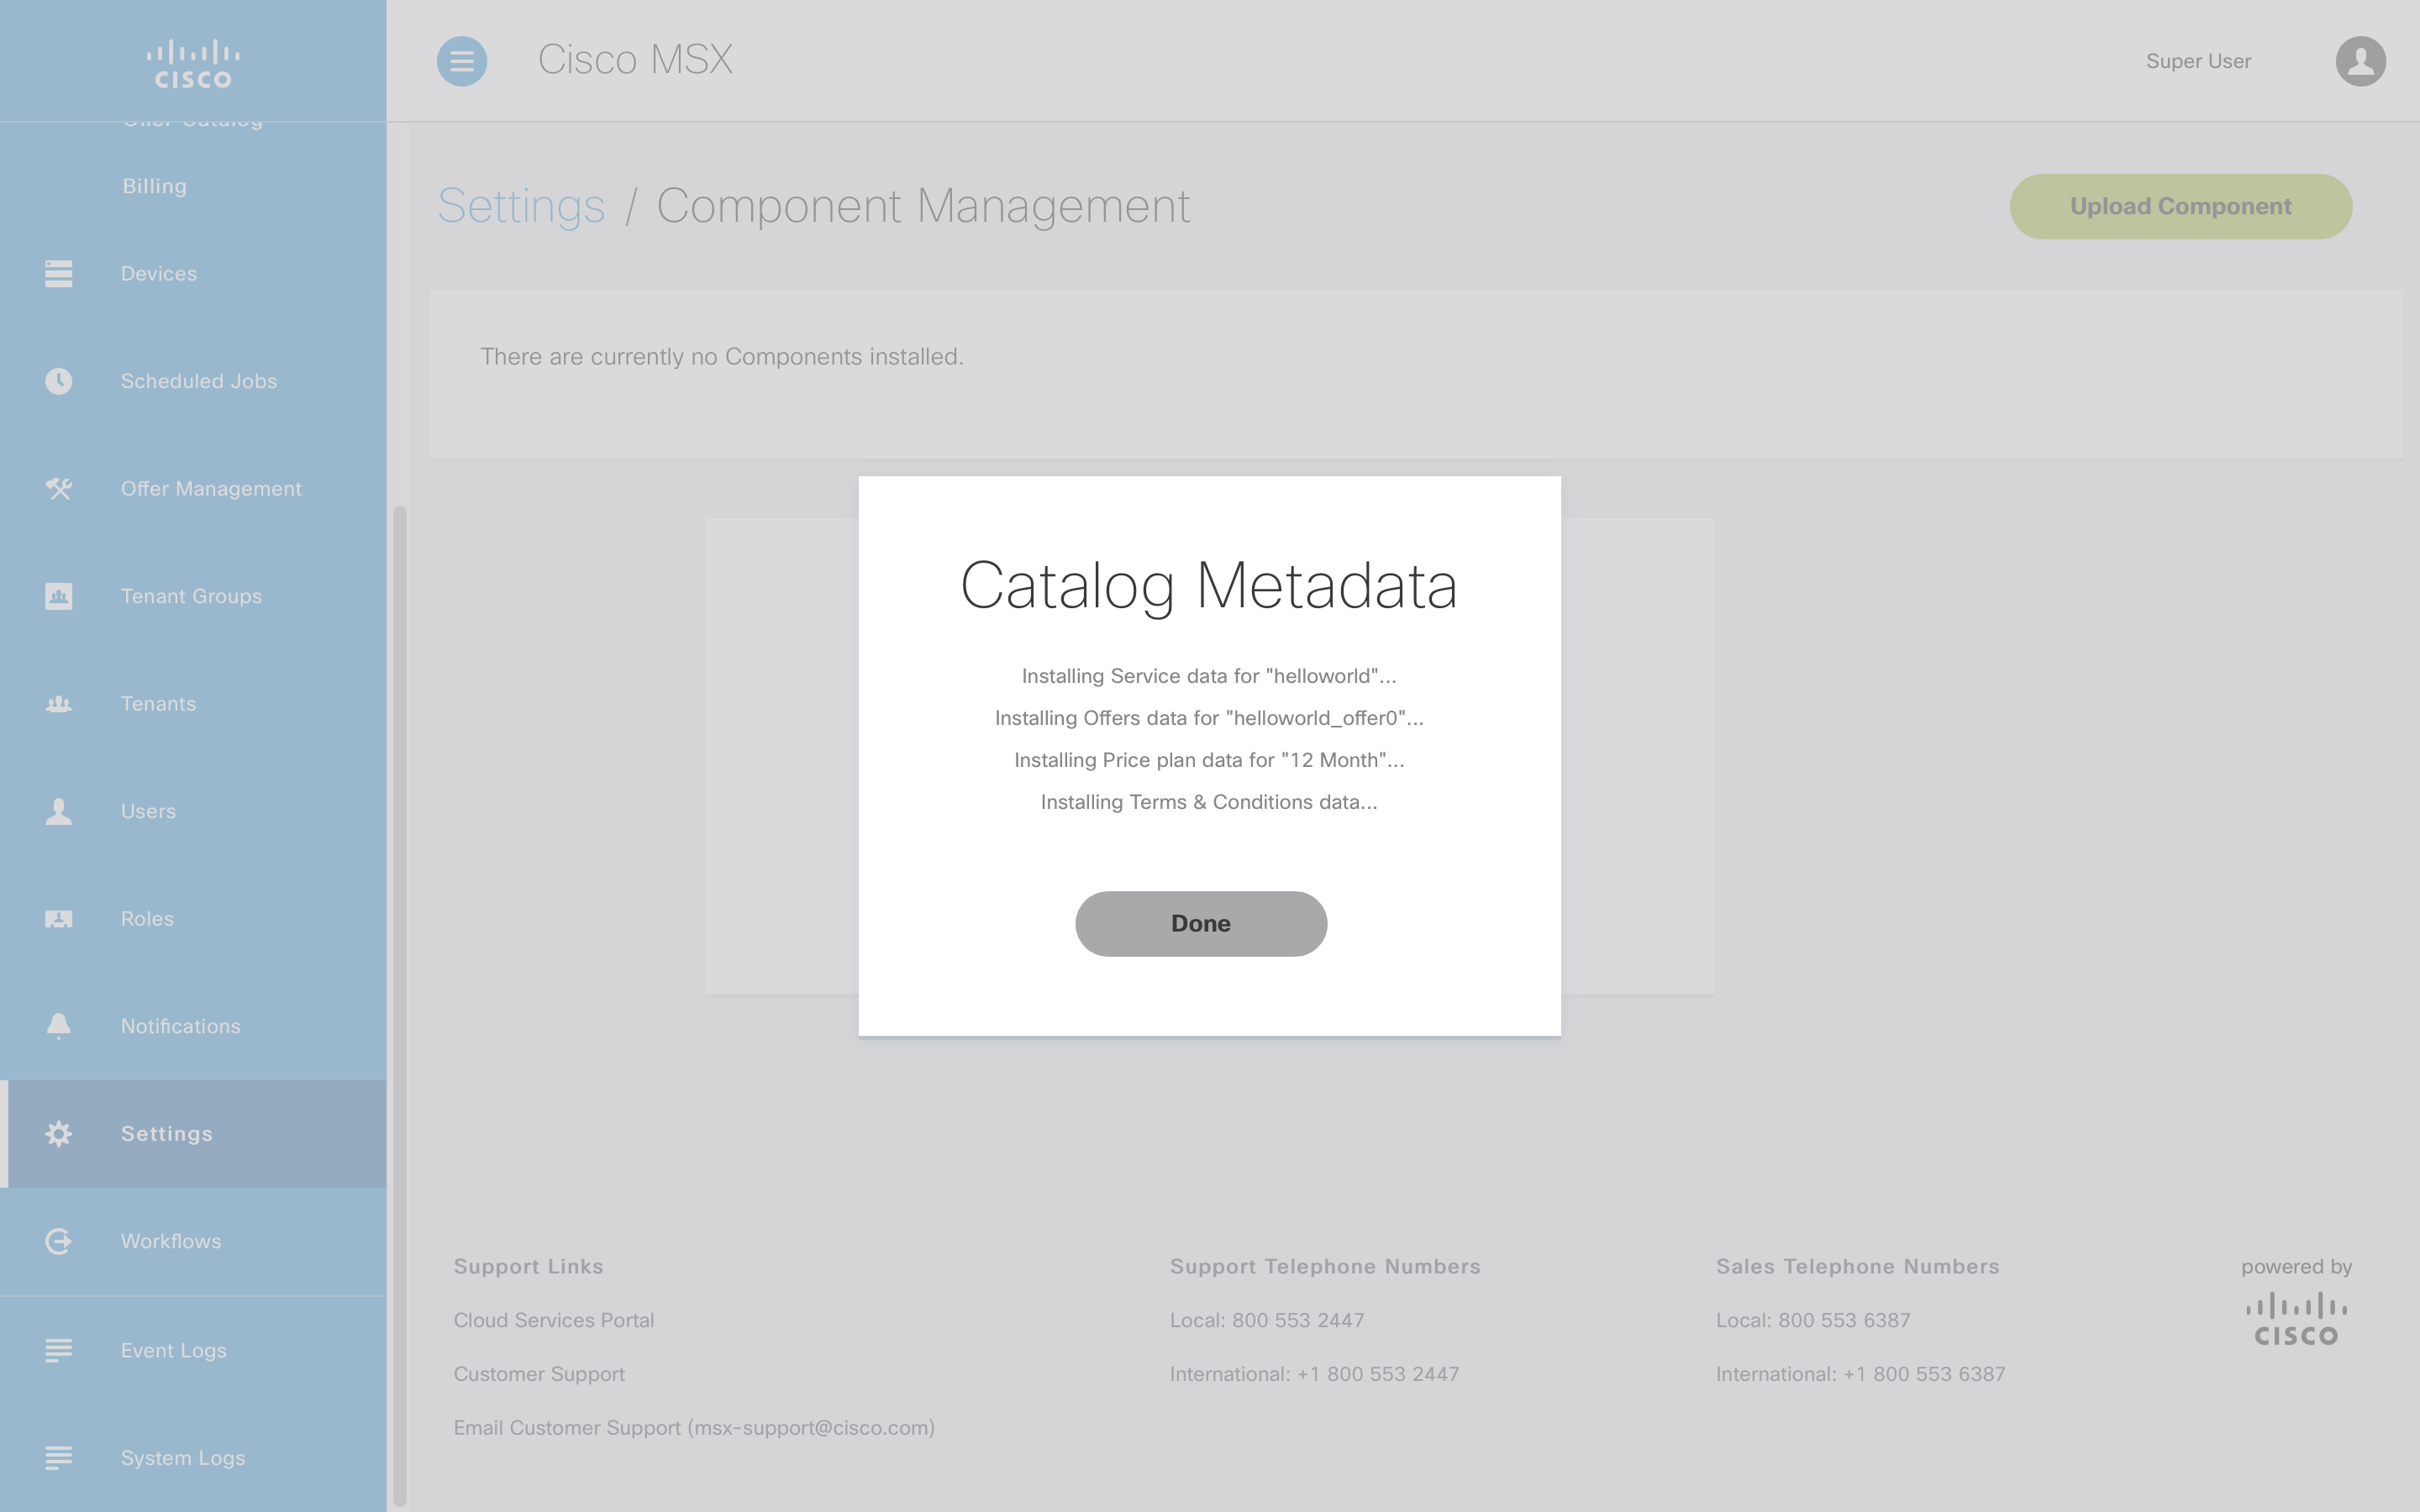
Once the application has been published, and the offer created, click Done to dismiss the dialog box.
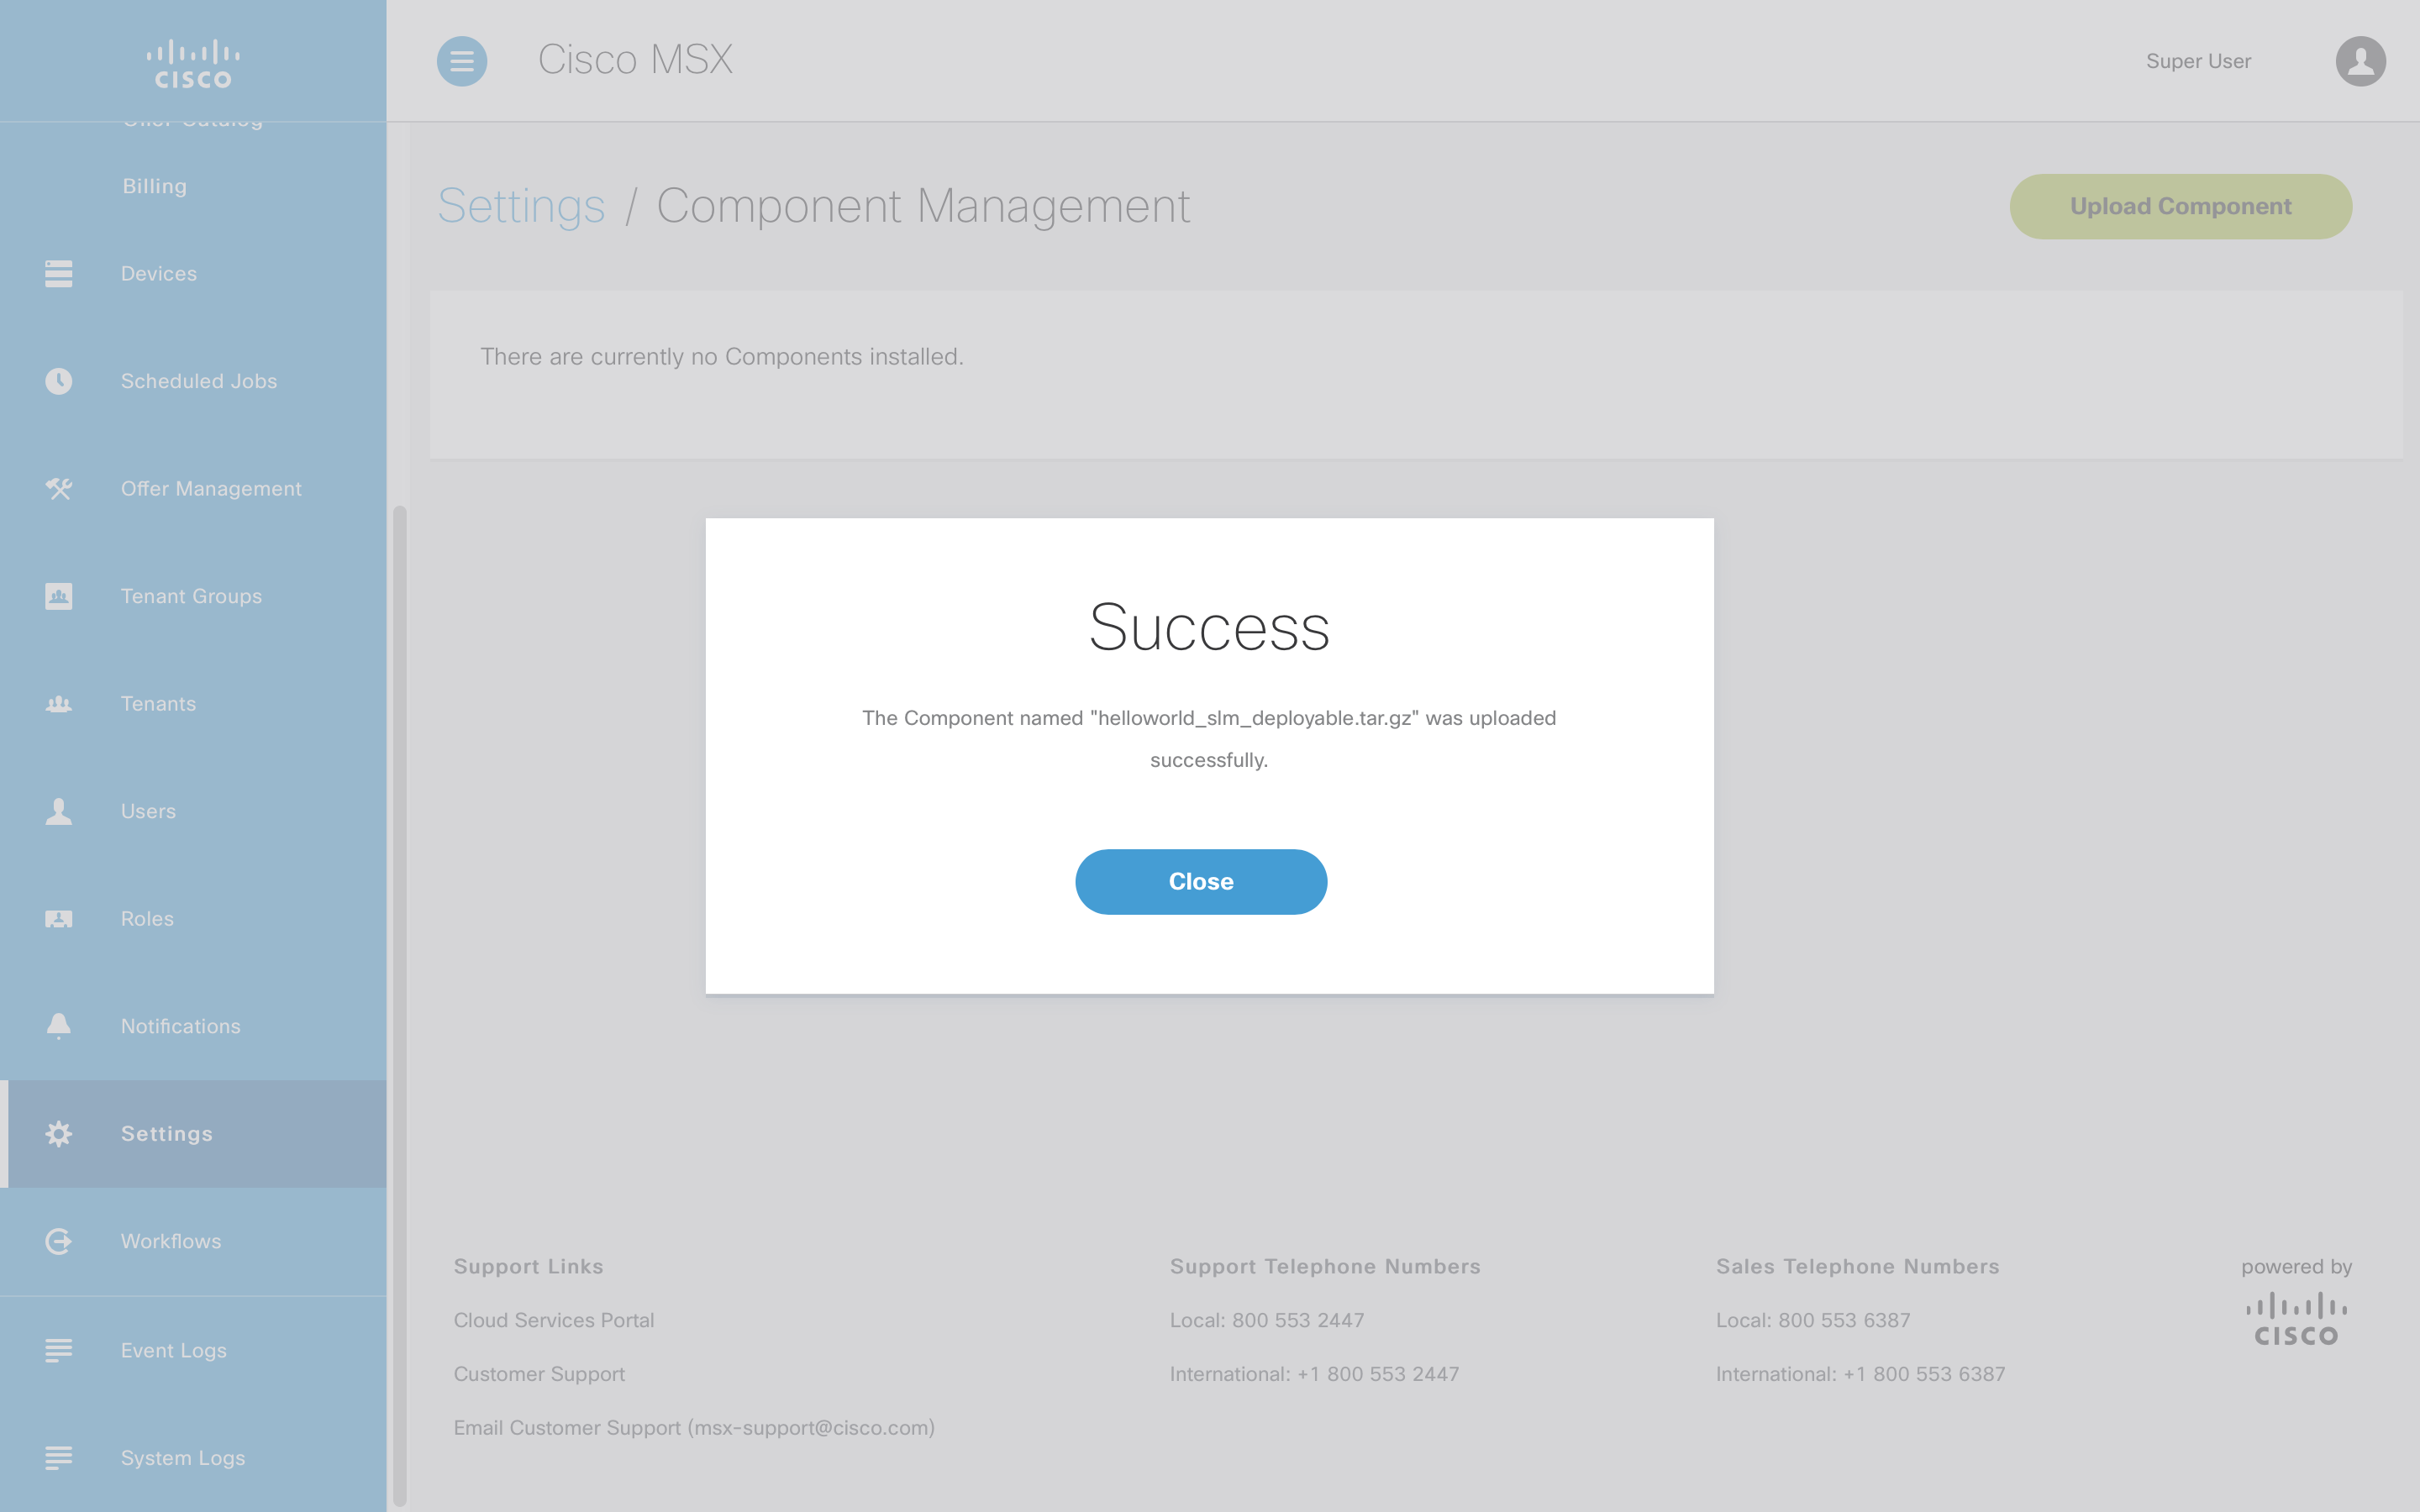
If the operation was successful you will see confirmation that you can Close.
You should now see your service pack in the offer catalog under tenant workspace on the left. If you do not log out of MSX and log back in.

References
| NEXT | HOME |