Working With Service Controls
- Introduction
- Goals
- Finding Service Controls
- Customizing Service Controls
- Updating Service Controls
- Add Service Control
Introduction
Another way to extend the functionality of a service pack is to by the use of service controls.
Goals
- adding service controls
- customize service controls
Finding Service Controls
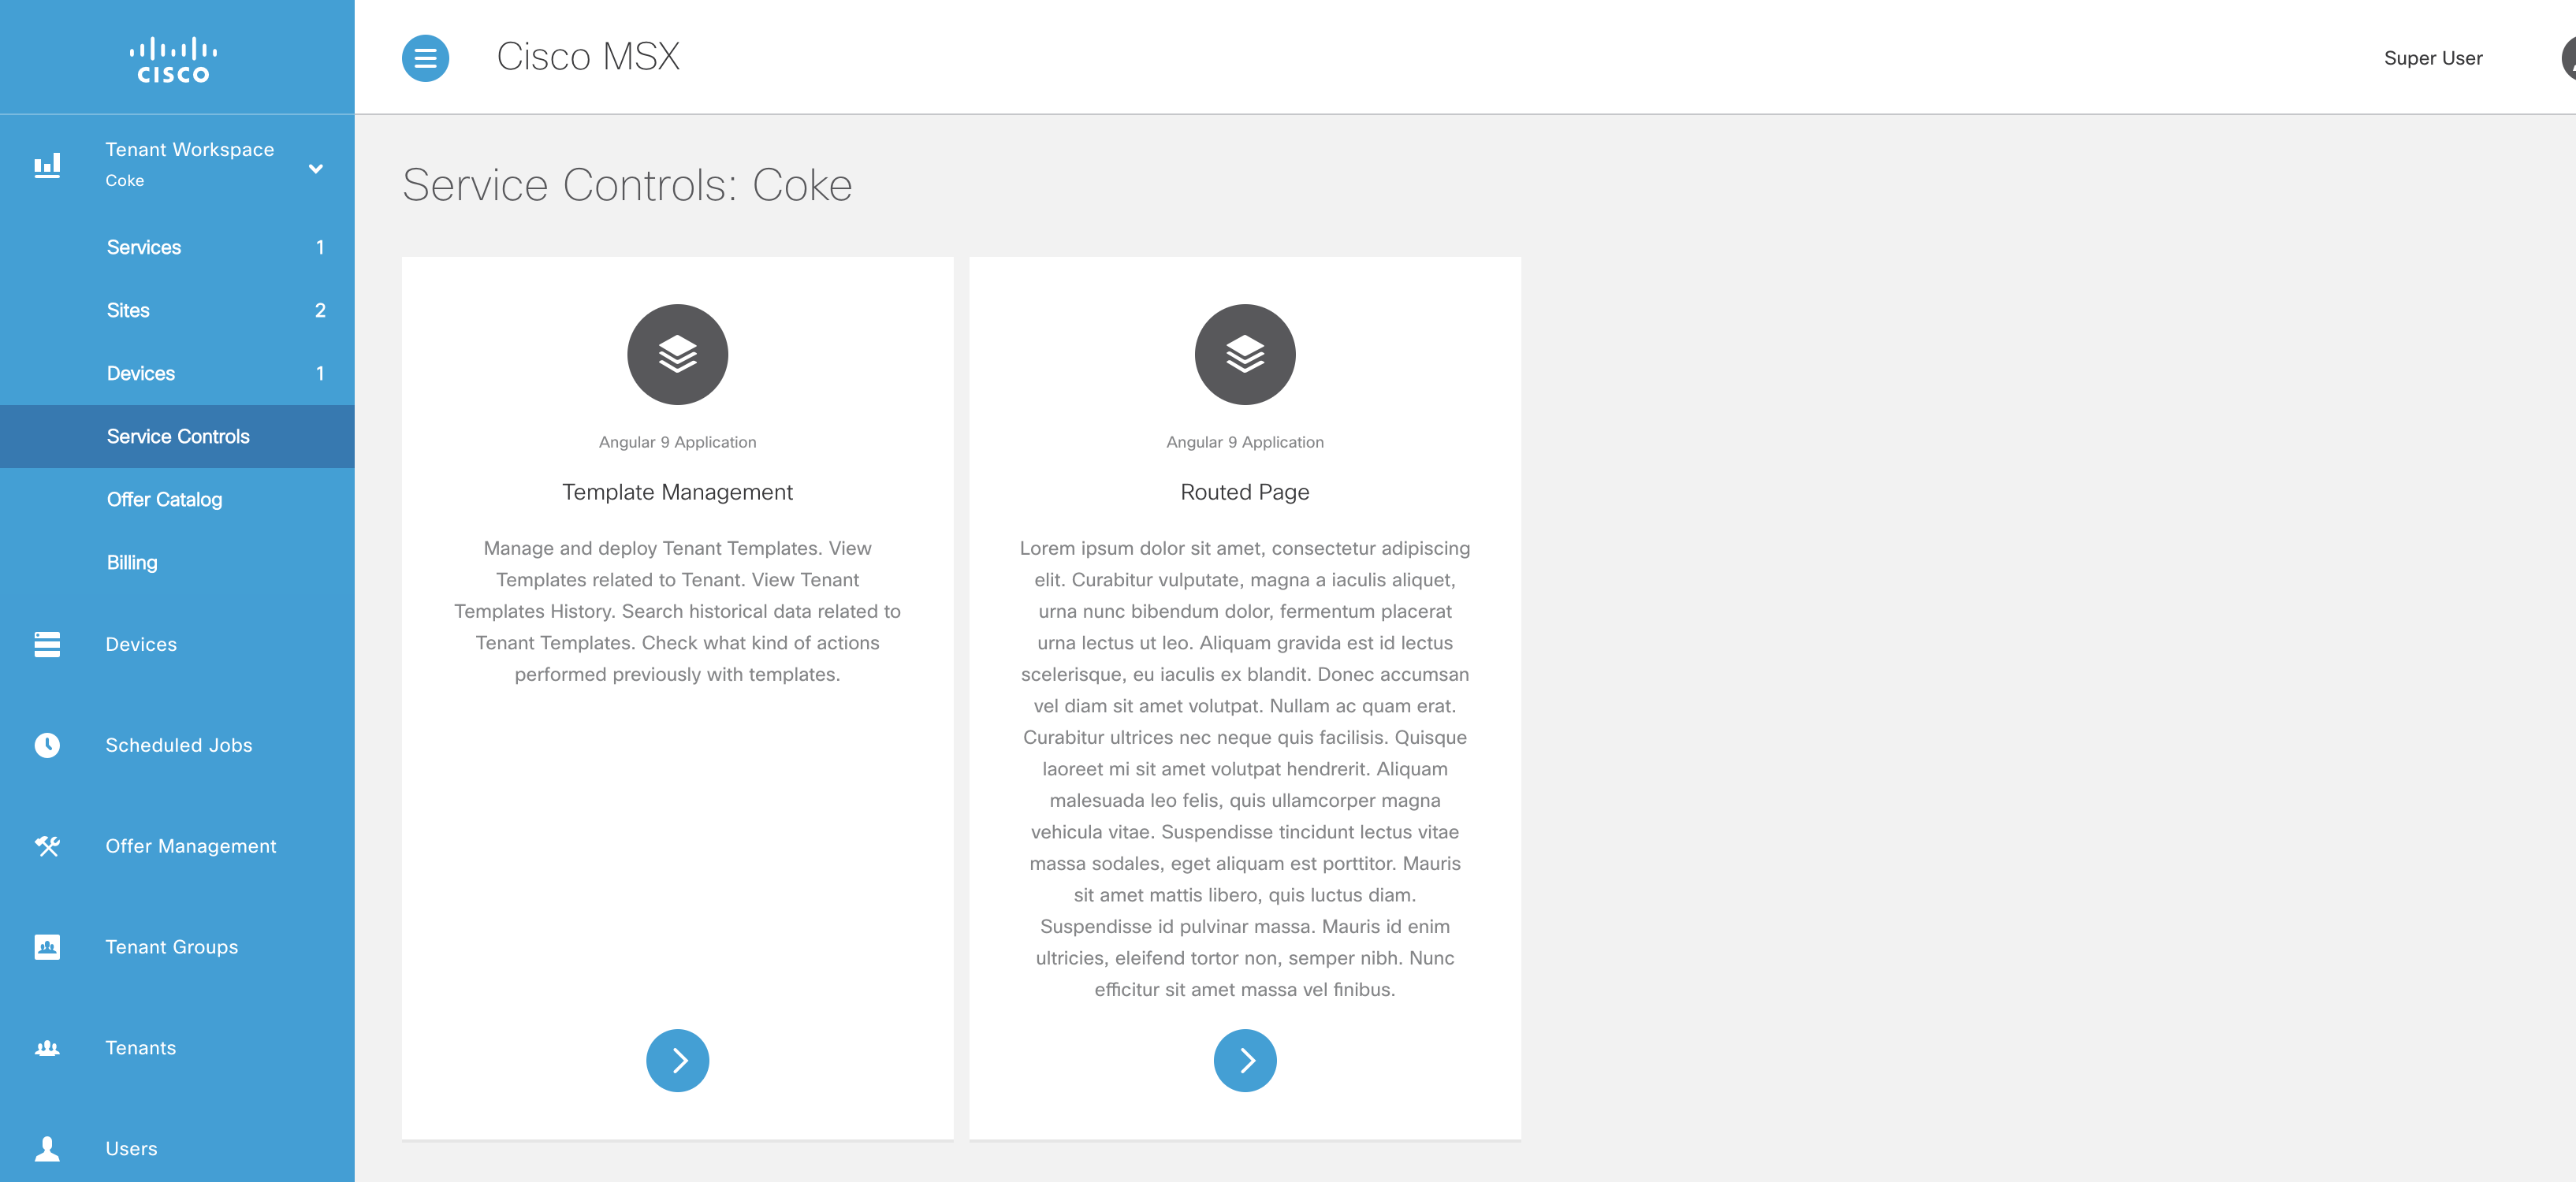
A tenant can access all the service controls for all the services they are subscribed to via the panel on the left.
Customizing Service Controls
The components that are used to customize the pre-configured service controls can be found here:
| Component | Description |
|---|---|
| tcui-hooks.ts | This is where service controls are registered with the platform UI. |
| routed-page.module.ts | This is where routing gets defined, and a routing link to a component is what is passed into service controls (in tcui-hooks). Any routing module that maps state to component will do. |
Updating Service Controls
The service controls included in this example are pointing to two different service controls. You may notice that of the two service controls, only one of them (routed-page.component.ts) is included in this example. That is because service controls get registered (in tc-ui hooks) using routes, as opposed to components.
To make any changes to the existing service controls component routed-page.component.ts is simple enough. For the sake of the example, lets replace a call to app.template-workspace (an MSX pre-defined route) with a route that points to our existing component routed-page.component.ts.
Make both of the service controls display the same component, noting the new route value app.helloworld.
{
  label: "test.service.service.controls.templatemanagement",
  iconClass: "vms_fi_editor7040-24",
  description: "test.service.service.controls.template.description",
  route: "app.helloworld",
  stateParams: {
    obj: {
      label: "test.service.service.controls.templatemanagement",
      backTo: 'app.service-controls',
      serviceType: 'test',
      tenantMode: true,
      disableImportTemplates: true,
      disableAssignTenants: true,
      columns: [{
        type: "string",
        name: "serviceConfigId",
        label: "test.service.service.controls.config.column.label",
        className: "",
        order: 3,
        width: "25rem"
      }, {
        type: "string",
        name: "assignedTenantName",
        label: "test.service.service.controls.assigned.tenants.column.label",
        className: "",
        order: 4,
        width: "25rem"
      }]
    }
  }
},
Next update the routed-page.module.ts to include the new url in the imports, such that the imports array looks like this:
  imports: [
    UIRouterModule.forChild({
      states: [
        {
          name: 'app.test',
          url: '/test',
          views: {
            'module@app': {
              component: RoutedPageComponent
            }
          },
        },        {
          name: 'app.helloworld',
          url: '/helloworld',
          views: {
            'module@app': {
              component: RoutedPageComponent
            }
          },
        },
      ]
    })
  ],
Finally, in routes.ts, add a new entry:
  {
    name: 'app.helloworld.**',
    url: '/helloworld',
    loadChildren: () =>
      import('./routed-page').then(mod => mod.RoutedPageModule),
  },
Adding Service Controls
As was implied in the previous section, to add a new service control just update the controls array in tcui-hooks.
Add this new section to point to the route we created earlier.
{
					label: "Yet Another Service Control",
					iconClass: "vms_fi_editor7040-24",
					description: "Description of our service control",
					route: "app.helloworld"
}
After doing a build, there will be three service controls in your tenant workspace.
There are a few things to note about adding a new component to service controls. The routes are declared at the module level, so a new module will need to be created (alternatively, you can add a new component to the routed-page module). As it stands components used by service controls cannot be called from other places in your service pack, be sure to plan out your modules accordingly.
| PREVIOUS | HOME |